A Gentle Guide to Refreshing Container Soil: Step-by-Step to Healthier Potted Plants
Refreshing the soil in a container doesn’t always mean moving the plant to a bigger pot. Done gently, a soil refresh restores nutrients, improves drainage, and helps roots breathe without shocking the plant. The following step-by-step method is a calm checklist of common mistakes and corrections. After the method you’ll find simple variations and a troubleshooting section for when things don’t go exactly as planned.
Step-by-step method: Gentle soil refresh
-
Choose the right time.
Avoid major soil work during extreme heat, deep winter cold, or when the plant is flowering heavily. Best windows are early spring (before vigorous new growth) or late summer (after the main flush of growth).
-
Water first.
Water the container a day before you plan to work. Moist soil holds together and reduces root damage. Mistakes to avoid: working with bone-dry soil that crumbles and tears roots, or soaking-soggy soil that compacts when disturbed.
-
Remove the top layer or lift gently.
For a light refresh, scrape away the top 2–3 inches of old mix and replace it. For a deeper refresh, lift the plant from the pot by tipping it and easing the root ball out. Avoid yanking: support the stem and work around the rim to loosen roots.
-
Inspect roots and trim sparingly.
Look for healthy white or pale roots and trim any obviously rotten, mushy, or dead sections. Don’t shave off large amounts. Common mistake: over-pruning — only remove what is clearly unhealthy to reduce transplant shock.
-
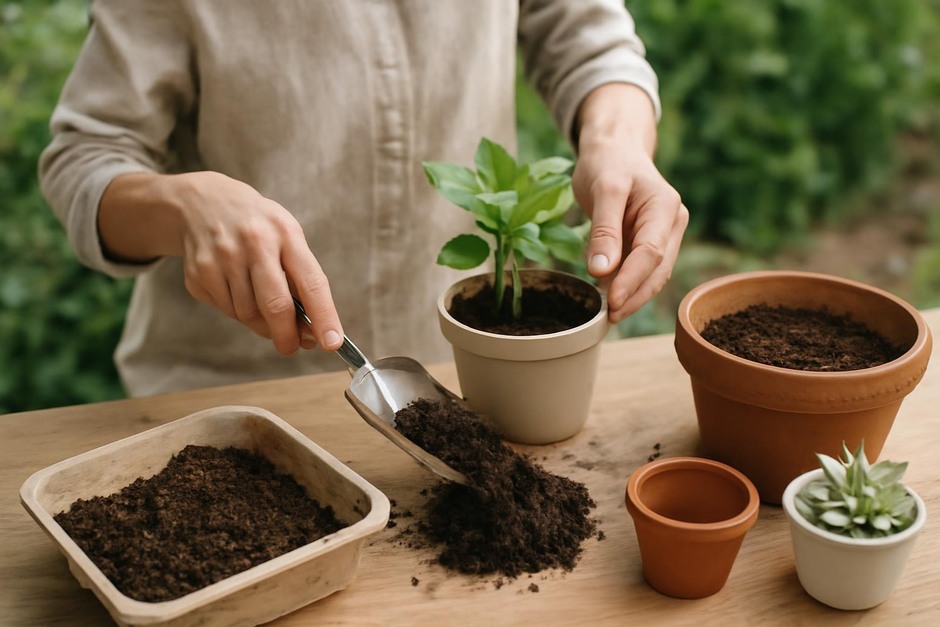
Refresh the potting mix.
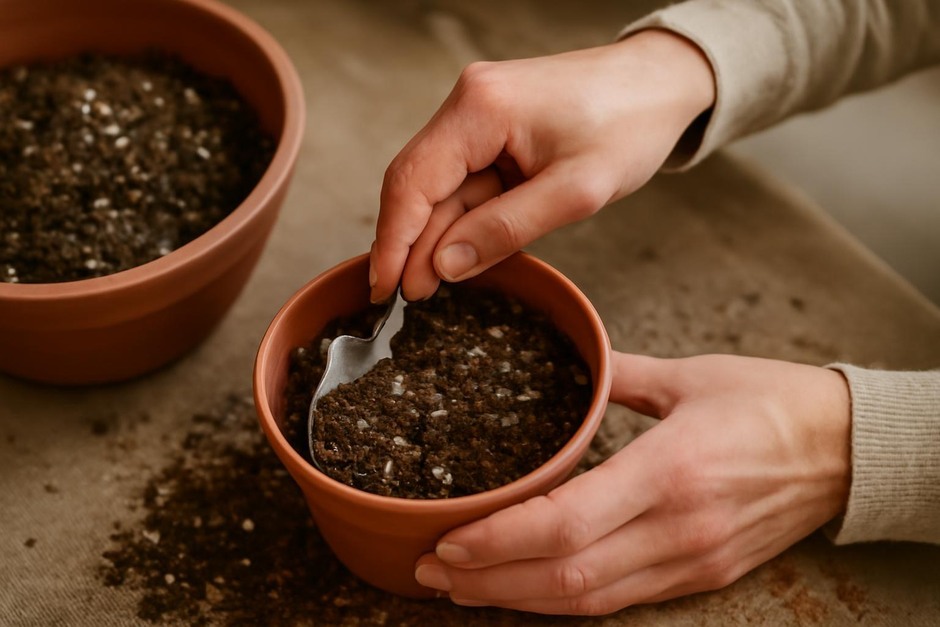
Fill the bottom with a clean layer of fresh potting mix (2–3 inches if repotting). Mix in a small amount of well-aged compost or a slow-release, balanced potting amendment if desired. Avoid garden soil or heavy mixes that hold too much water.
-
Replant at the same depth.
Set the plant back so the crown sits at the same level as before. Planting too deep can suffocate stems; planting too shallow risks root exposure. Mistake to correct: burying woody crowns or raising them too high — aim to match the original position.
-
Top-dress and settle.
Add a final thin layer of mix, firm gently, and water to settle. Avoid compacting the soil — a light press is enough. Let excess water drain fully; never let the pot sit in standing water after refreshing.
-
Resume normal care slowly.
Keep the plant in similar light and temperature conditions for a week, and hold off on heavy feeding for 2–4 weeks unless the plant shows strong growth. Over-fertilizing a recently disturbed root system is a common error.
Variations for common container plants
Herbs and shallow-rooted annuals
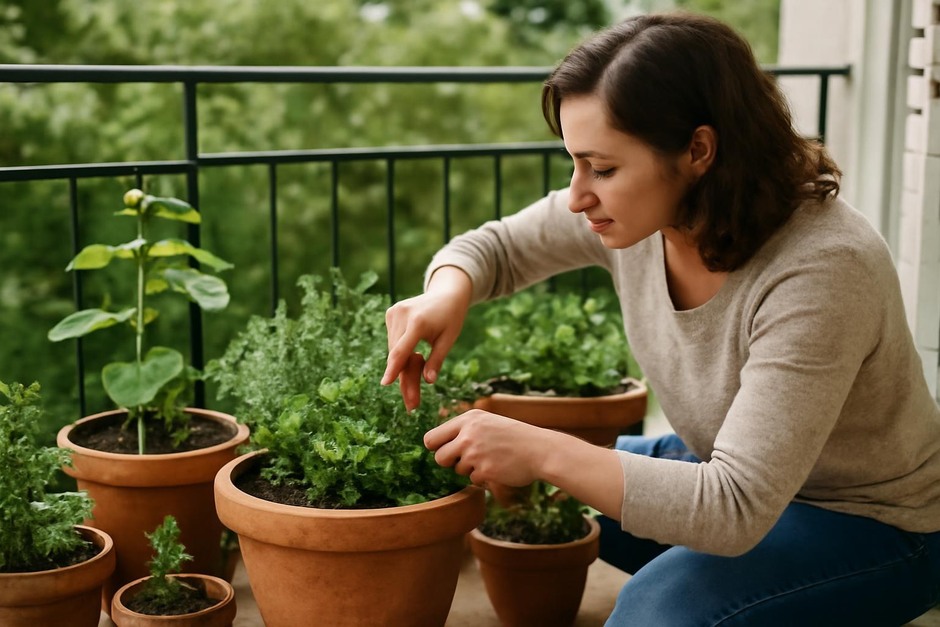
For herbs in small pots, a top-dress of 1–2 inches and a light refresh every season is usually enough. When you do lift the plant, trim no more than 10–15% of the roots and avoid deep potting mixes; herbs prefer a lighter, fast-draining mix.
Vegetables and large annuals
Vegetables can tolerate a deeper refresh. Replace one-third to one-half of the old mix, and add compost or a balanced organic amendment. Ensure larger containers have good drainage holes and that soil depth suits the crop’s root needs.
Perennials and woody plants
Perennials can be more sensitive. Aim for a conservative approach: remove only the top 2–3 inches unless roots are clearly congested. If repotting, choose a pot that allows modest extra room rather than a huge size increase.
Succulents and cacti
Use a fast-draining, gritty mix. Remove only what is necessary, and let any trimmed or exposed roots callus for a day before replanting to reduce rot. Avoid watering heavily for a week after the refresh.
Troubleshooting: Common issues and calm fixes
-
Plant wilts after refresh.
Likely cause: root disturbance or overwatering. Keep it shaded for a few days, water sparingly, and ensure excess water drains. Resist the urge to fertilize until new growth appears.
-
Leaves yellow without pests.
Possible causes: waterlogged soil, sudden change in light, or nutrient imbalance. Check drainage, let the soil dry a bit between waterings, and return to the original light level gradually.
-
Roots stay tightly bound after lifting.
Gently tease out surface roots with your fingers; if very dense, take a small vertical slice from the root ball to encourage outward growth. Avoid removing large chunks of roots all around — a few strategic notches are safer.
-
Soil smells sour or mold appears.
That indicates poor aeration or persistent dampness. Replace more of the mix with a lighter, well-draining mix and reduce watering. Surface mold can be gently scraped away; improve airflow around the pot.
Refreshing container soil is less about dramatic change and more about gentle correction. Follow the steps above, choose the appropriate variation for your plant type, and use the troubleshooting tips if things feel off. A calm, measured approach will return most container plants to steady health without unnecessary stress.